Visitors to our blog are going to react in one of two ways when they see an article with “Do it Yourself” in the headline. You’re either going to avert your eyes and try to find a less intimidating article. Or you’re going to greet this headline and subsequent instructions with enthusiasm and frenzied fervency.
Here’s hoping you’re among the second category of DYI folks who revel in the experience of creating things from scratch. You know, those Junior MacGyvers who’d rather spend a weekend creating a project than spend nine bucks for the same item at the store.
That’s why we’re dedicating the next three posts here on the NCOAE blog to help you find what we hope is the do-it-yourselfer deep in your soul. Here at The National Center for Outdoor Adventure and Education (NCOAE), we have always used the equation of Self + Community + Action = Impact. It’s the notion of making the changes necessary to feel better about yourself and see your role in a community of peers, practice, neighbors, or just society as a whole.
Through our outdoor education and wilderness medicine programs we have helped countless individuals and organizations — through interaction with nature and wild places — to move forward to a more conscious way of living life and perhaps influencing the world around them. Just look at the many companies that were born of DIY thinking. There’s Patagonia, Petzl, Outdoor Research, Swift Industries, Black Diamond, and pretty much everything related to the surf industry.
So, for this installment and the two that follow, we will be exploring the DIY experience of creating equipment destined for human-powered outdoor pursuits, either for fun or out of necessity. We find that DIY projects give you a taste of the experiential education process from the comfort of your own home or garage.
And Part One of this series is how to make a denatured alcohol stove.
Years ago, I made the beautiful mistake of buying “Beyond Backpacking” by Ray Jardine. The mistake? The book inspired me to begin purging my gear, make my own gear, and learn how to go light for less money. Gearing up for a huge trip inspired me to follow the “Ray Way.”
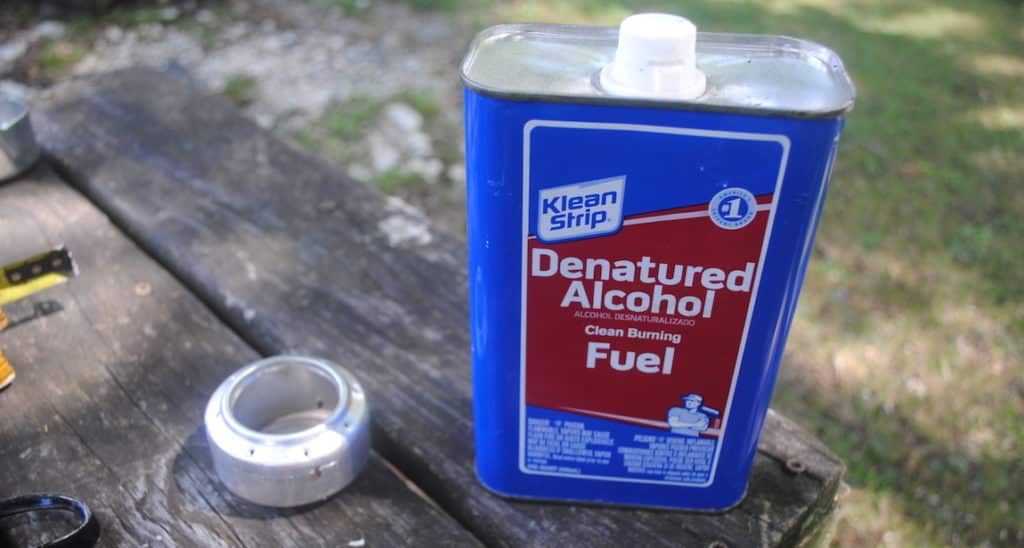
It was around that time that I built my first denatured alcohol stove. The process is straightforward and acquiring the materials can be a lot of fun. For instance, you’ll need to empty a couple of soda or beer cans before you even get started. Any beverage can will work, but some folks would prefer to drain a can of beer. Because building this stove is about the experience and the pursuit of learning. And, of course, the enjoyment.
Now, will a tin can stove work better than the typical $200 backcountry stove? Probably not. Will it last a lifetime? Unlikely. But don’t ask yourself those questions. Instead, create something on your own and see if it doesn’t bring you happiness, a sense of pride, or even lead to innovative ideas that result in a better product.
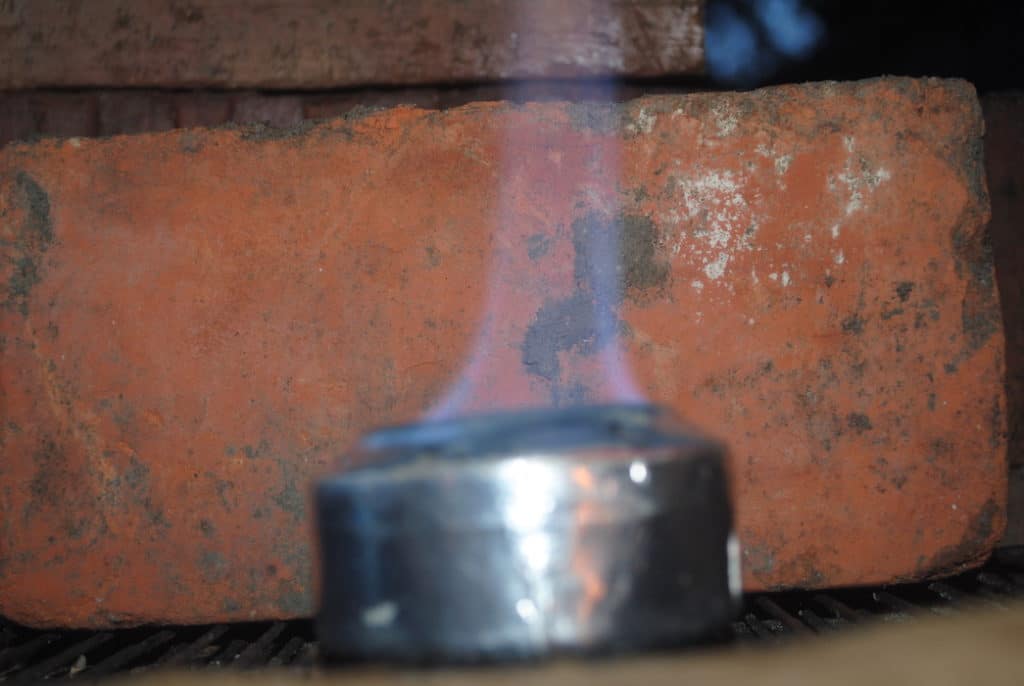
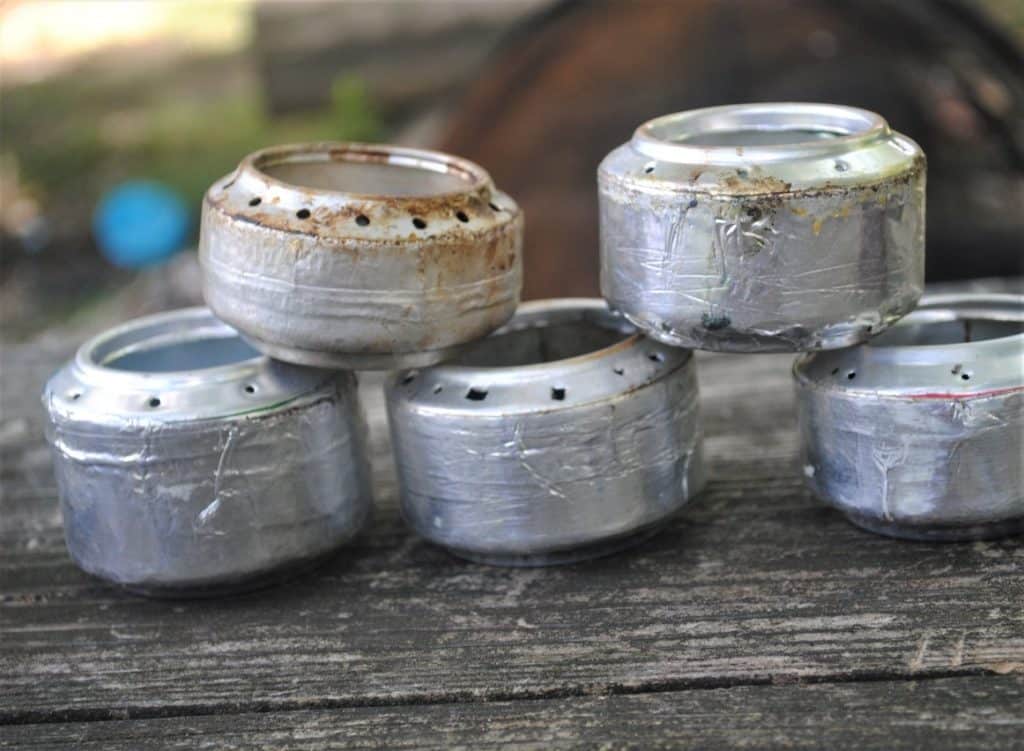
The finished product!
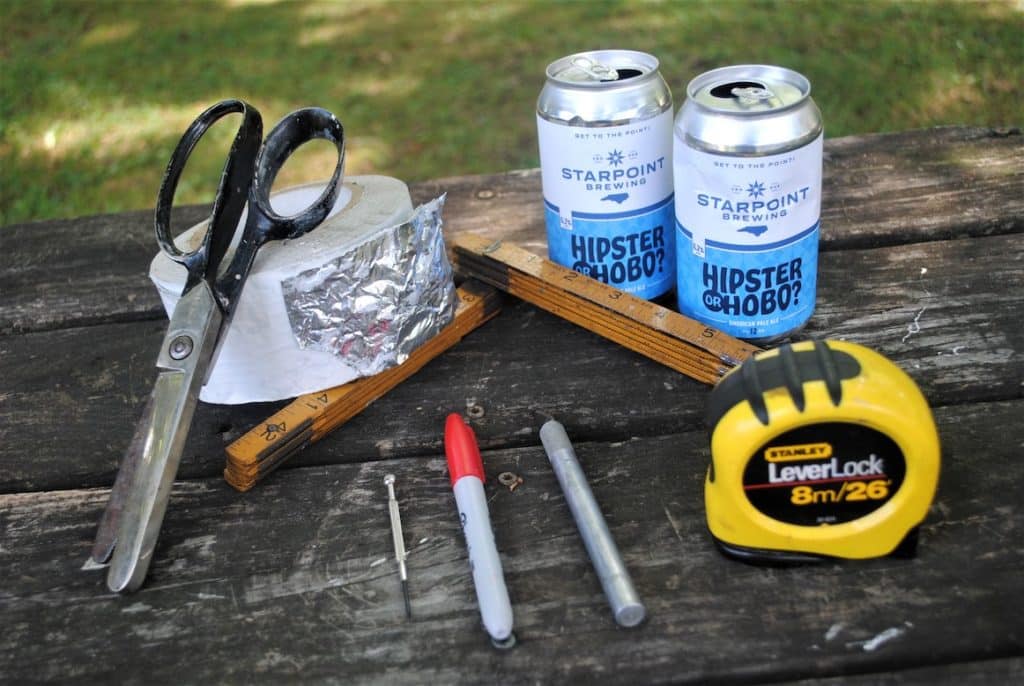
Okay. Here’s what you’ll need:
- Two beverage cans — beer or soda
- Tape measure or ruler
- Awl or sharp instrument
- X-Acto knife
- Permanent marker (Sharpie)
- A pair of scissors
- A roll of high-temperature tape.( metal or aluminum tape, foil tape, non-burning tape)
Note: Before you start, know that there will be opportunities later on for the “scrap” you create from some of the initial steps below. As a result, do not toss your scrap until you complete this project.
Step One: Getting started.
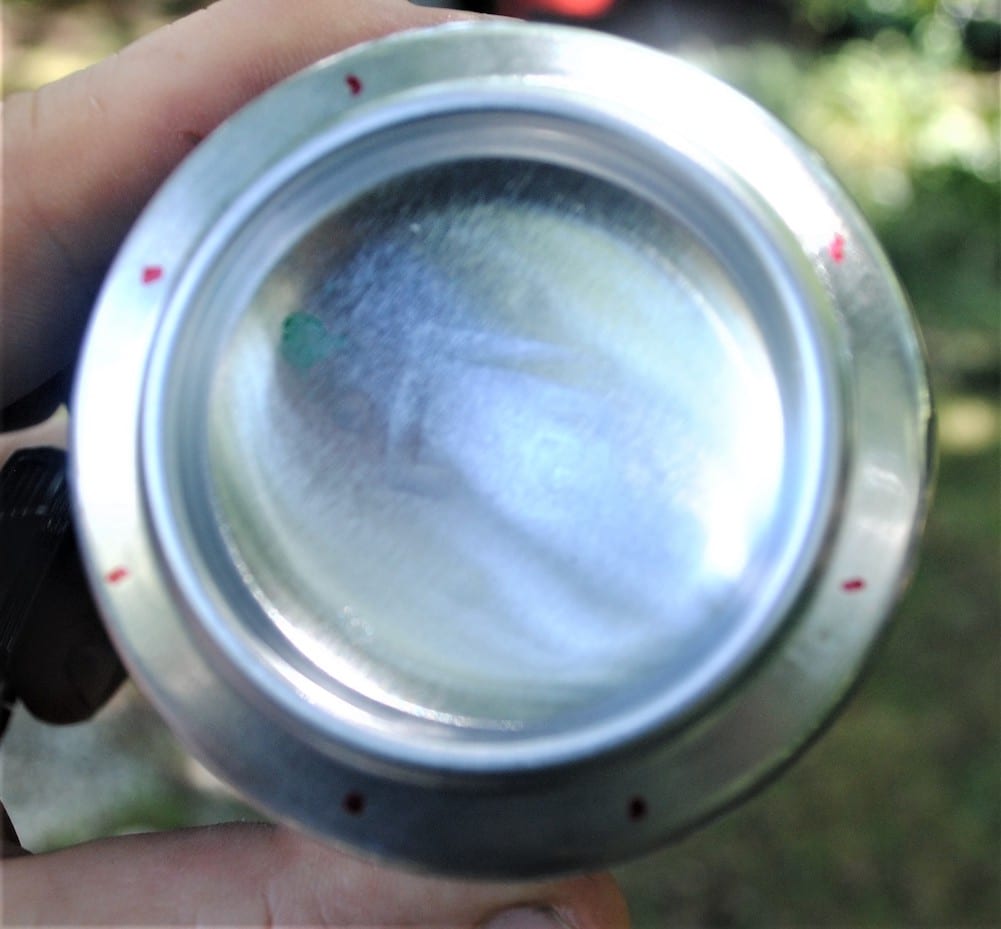
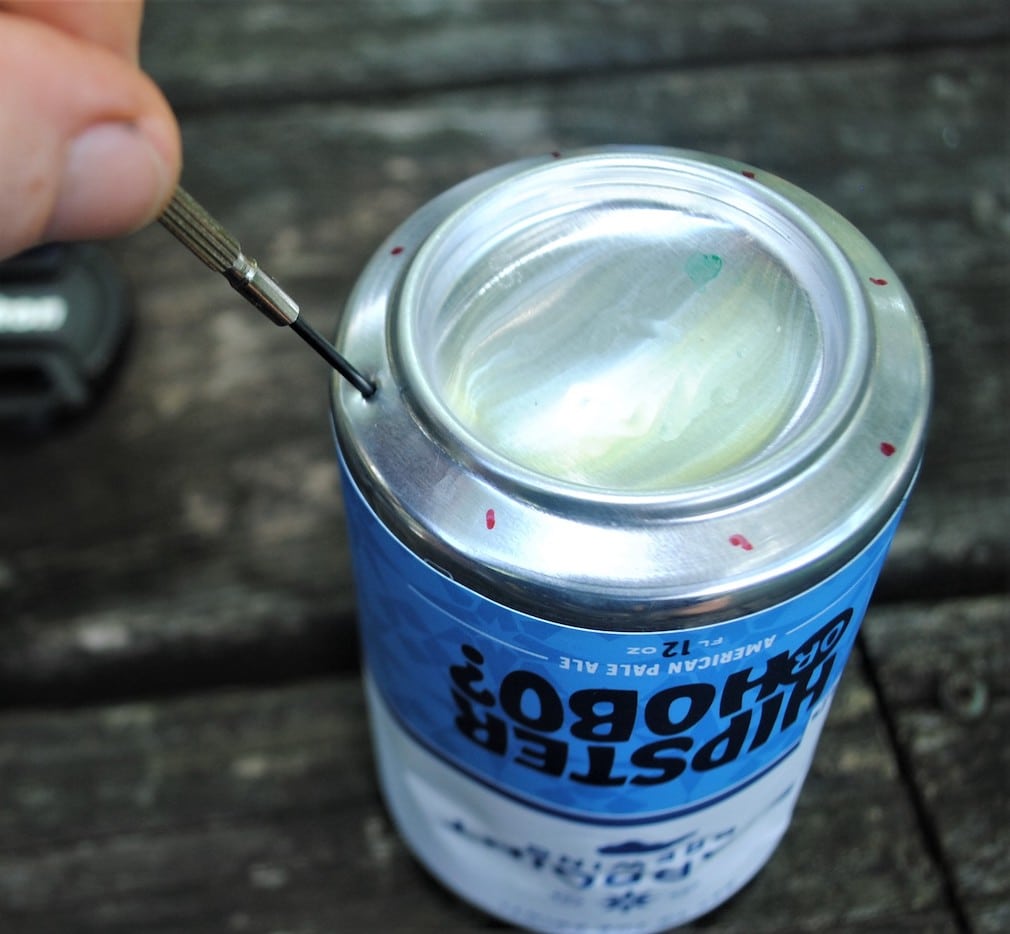
Focusing on the bottom of the can, poke holes in the bottom edge with the awl or sharp instrument. Create between 12 and 16 holes that are evenly spaced. These holes don’t have to be big, although holes that are too small could alter the efficiency of your fuel burn.
Step Two: Cutting the main opening.
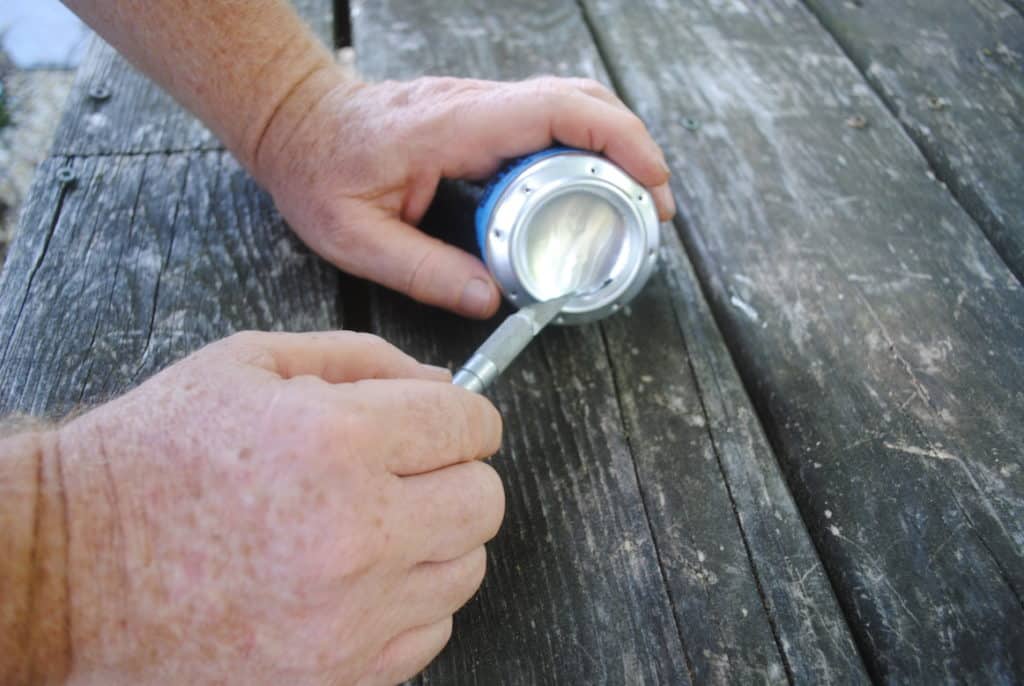
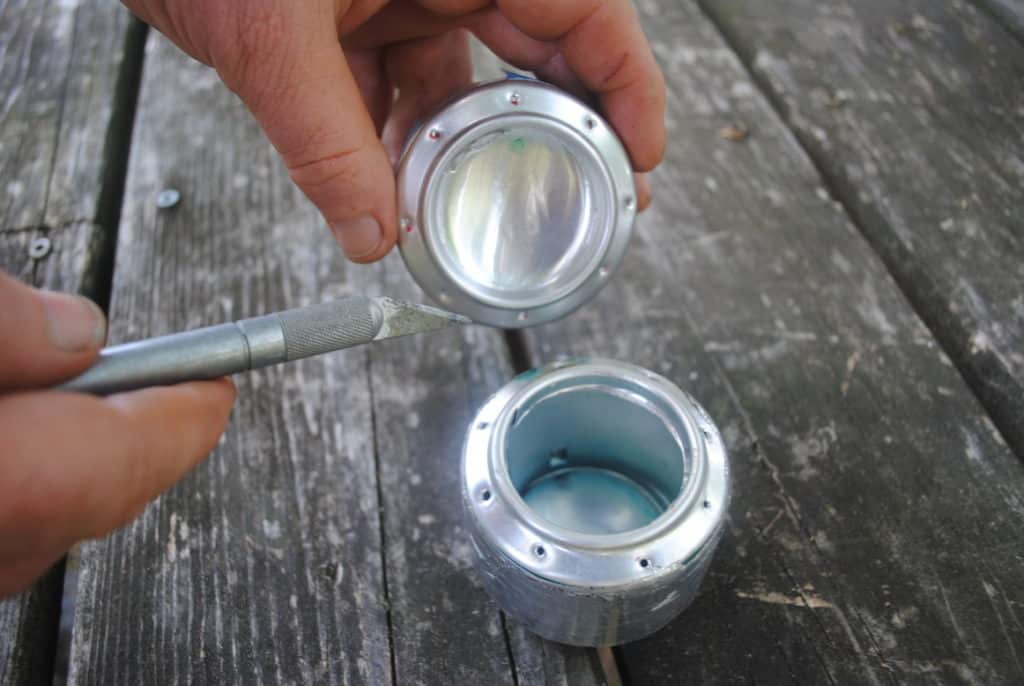
Grab the bottom of the can that you just put holes in, and cut out the inner circle. Use an X-Acto knife for this because a heavy-duty blade works best. But be careful!
Step 3: Making the top of the stove.
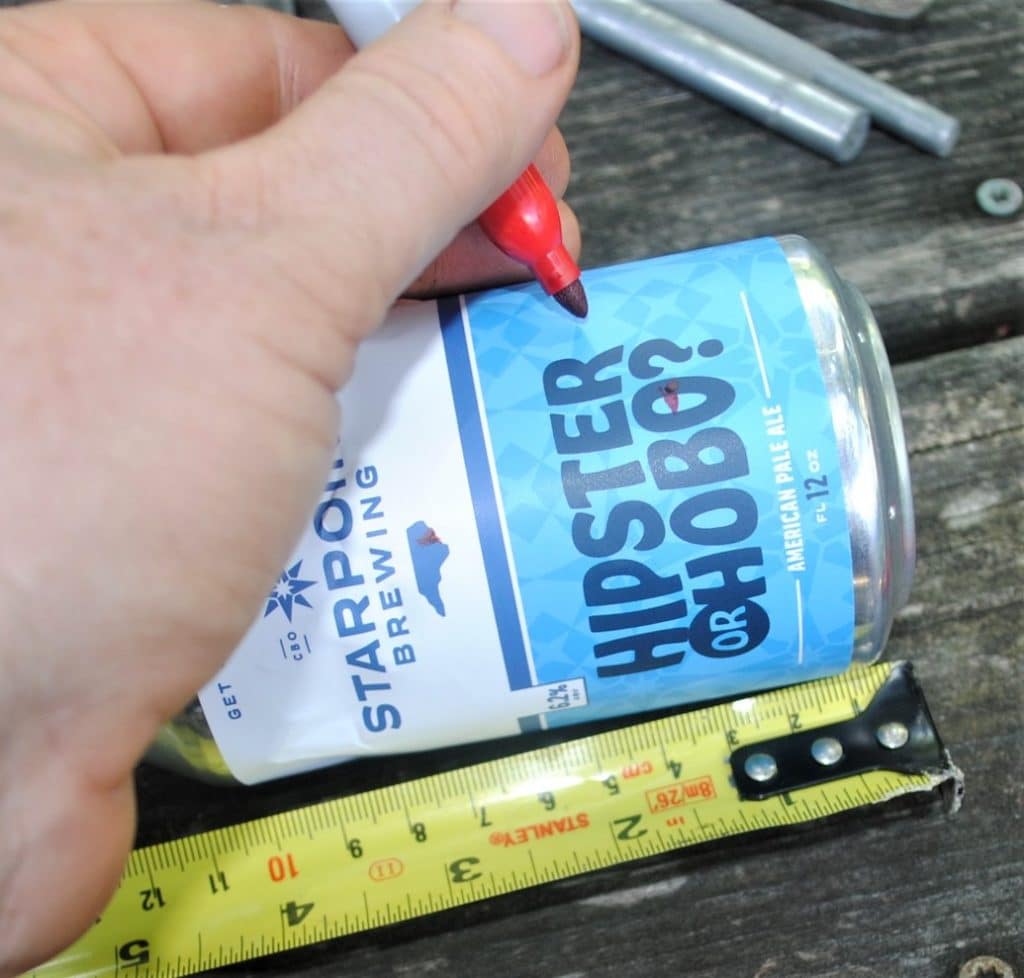
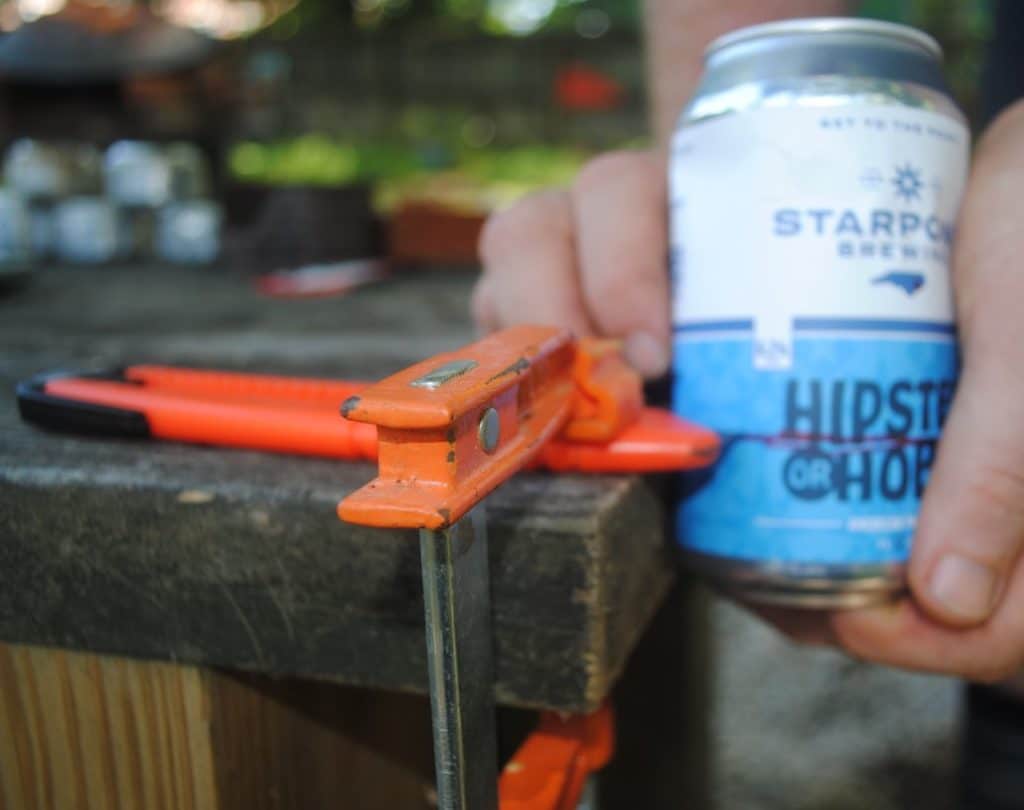
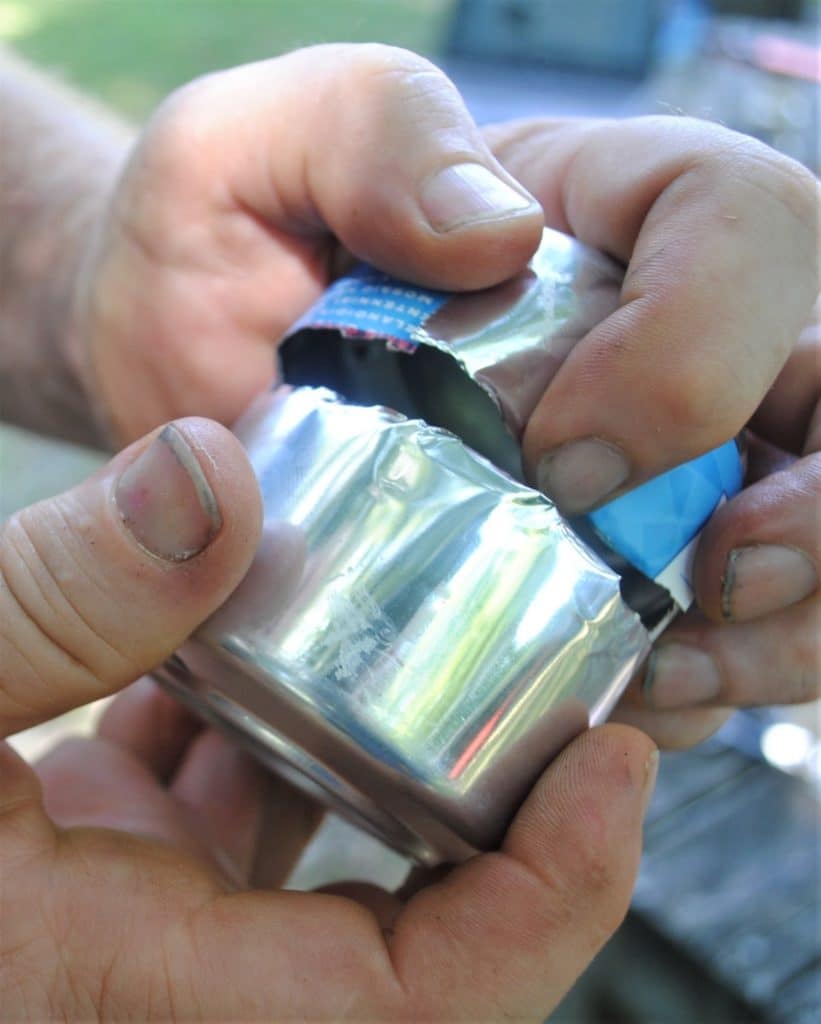
Measure three-quarters of an inch from the bottom of the can, then mark the spot and do the same on the opposite side. Use that marker to cut around the can.
Mark the spot, do it again on the opposite side.
Use your marker to make the line you will be cutting around the can. This photo suggests the best way to create a perfect cut.
Step 4: Cutting or crimping tabs.
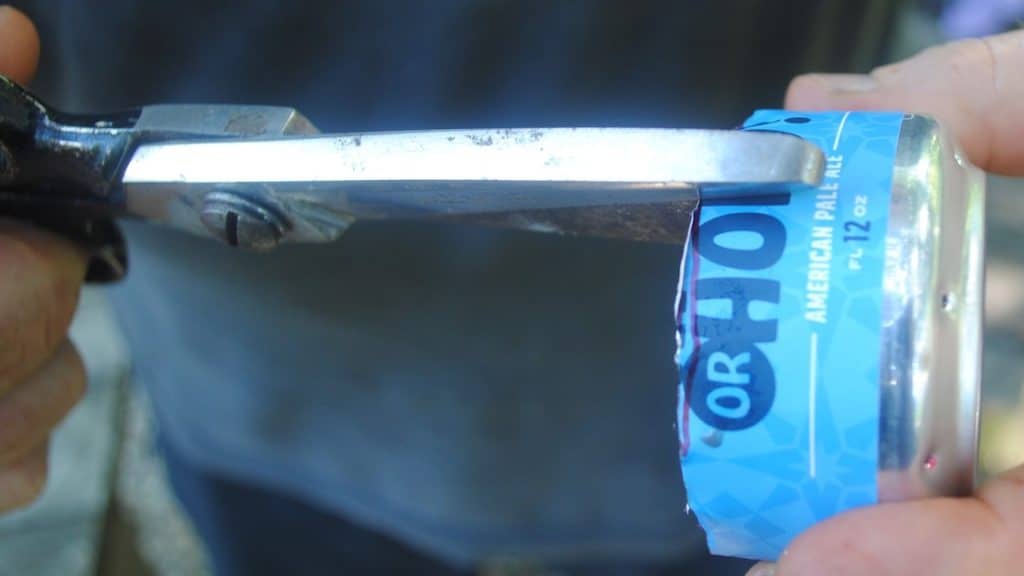
Using your scissors, cut (snip) the edge of the top of the stove six or eight times to create tabs. These tabs will be used in connecting the upper and lower parts of the stove. If you feel confident in your skills, you might use pliers to crimp the edges instead of cutting them.
Step 5: Making the bottom of the stove.
This is where the second beverage container makes itself useful. Cut the new can about an inch above the bottom. Use the same technique as when you cut the top, only don’t poke holes this time or cut out a hole. You can increase or decrease stove height by adjusting this measurement.
Step 6: Making the inner wall.
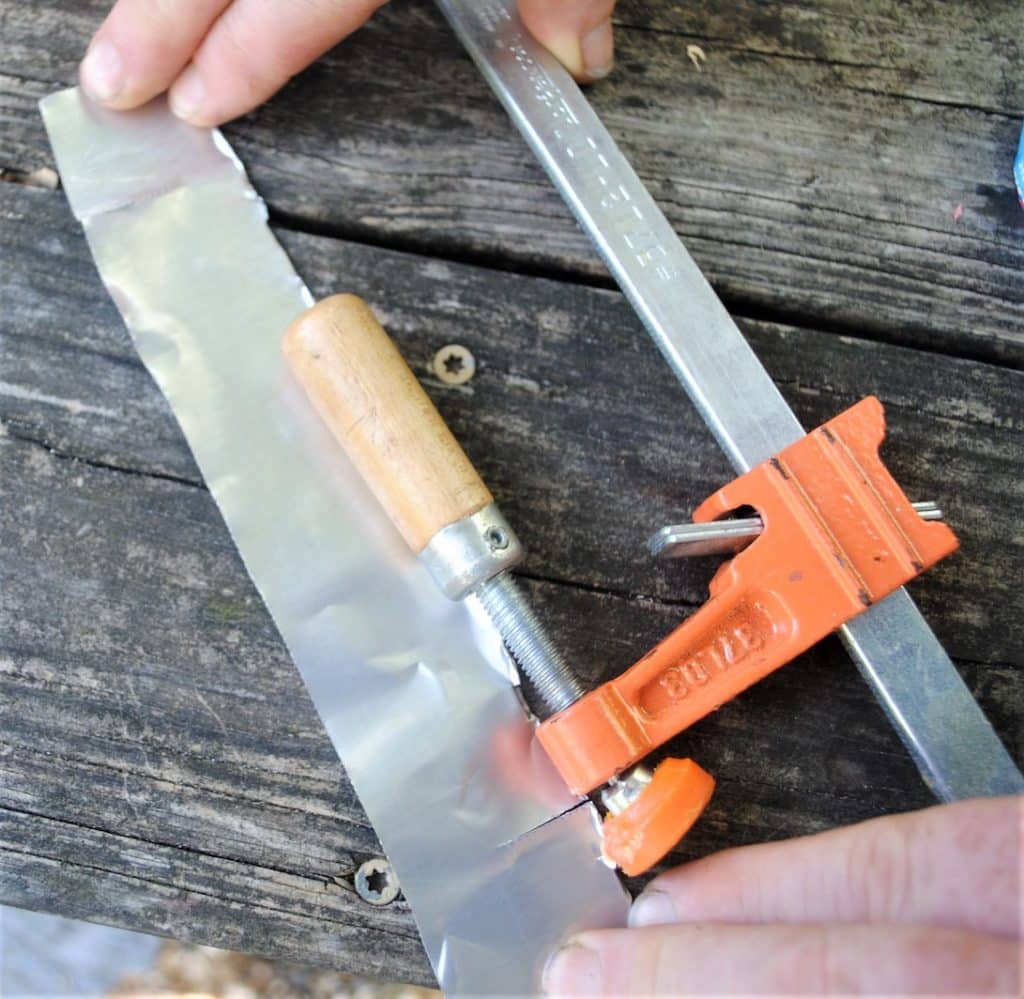
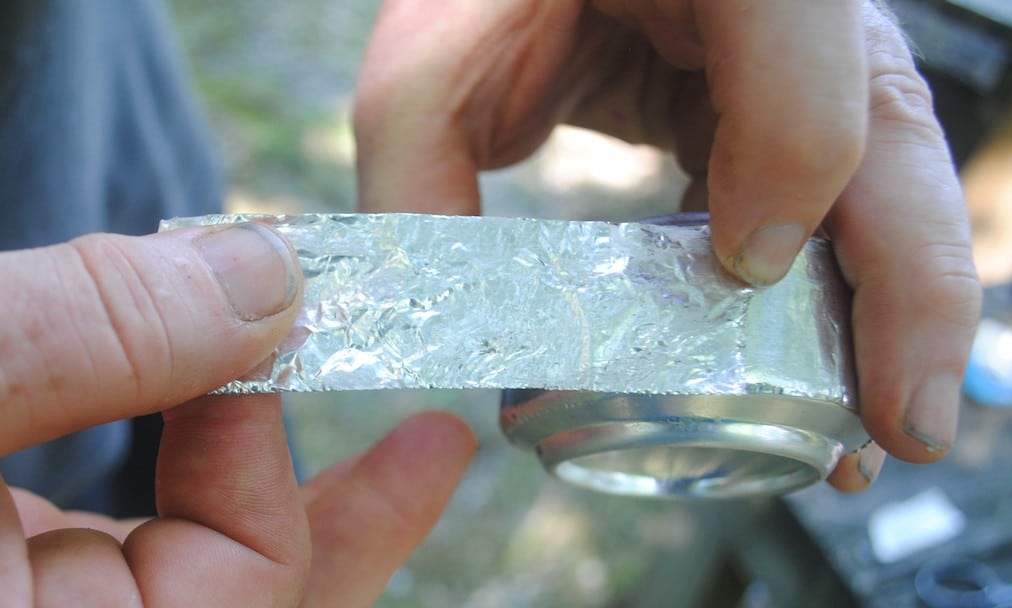
Go to your scrap pile and cut an inch and a third strip from a remaining can. This will serve as your inner wall.
Step 7: Fitting the inner wall.
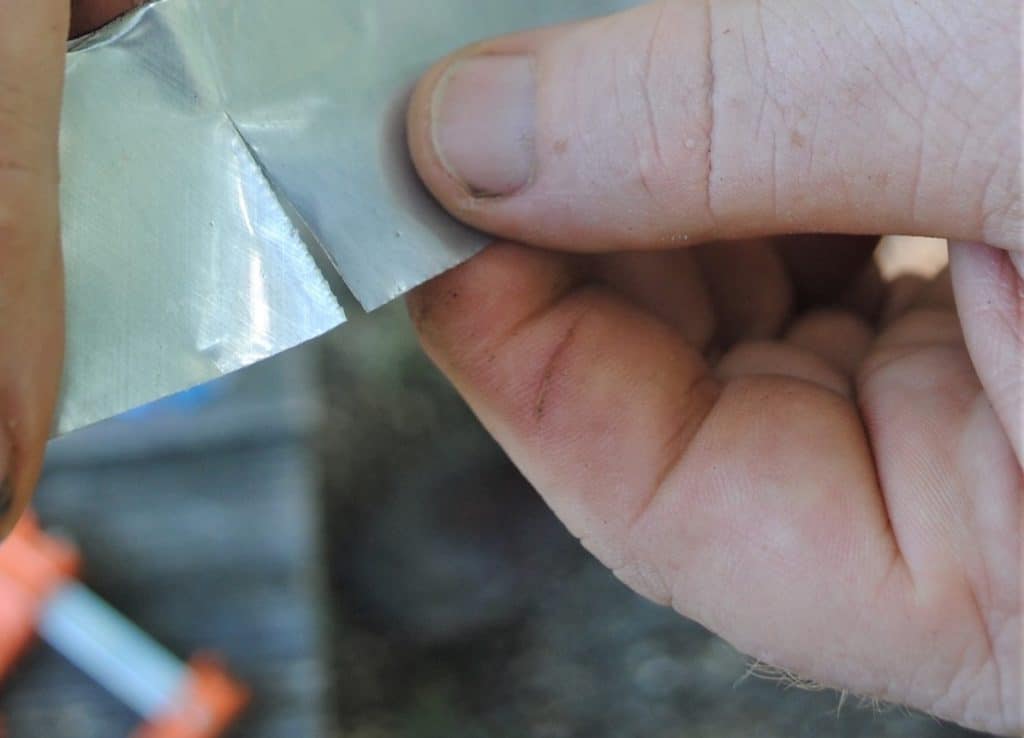
Cut halfway through the strip you just created for the inner wall. Do this on opposite sides so the pieces will lock together using the slits. Then trim the inner wall and cut off the tails where the pieces lock together.
Step 8: Create fuel ports.
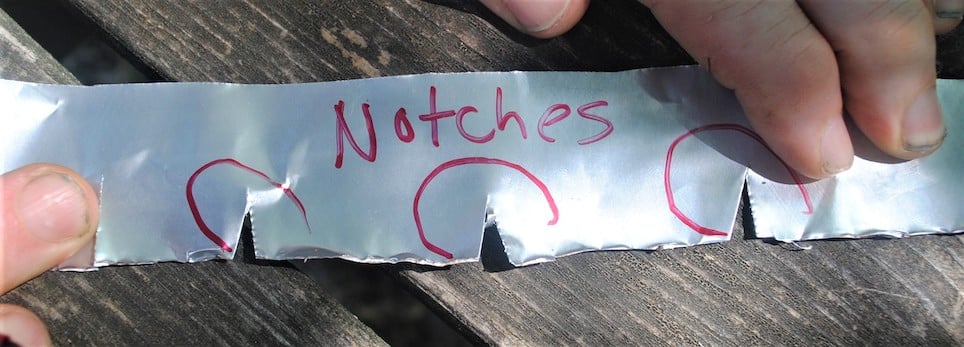
At the bottom of the inner walls, cut three notches out (small rectangular).VERY IMPORTANT: This is the only way fuel can move from the main compartment to the outer compartment of the stove.
Step 9: Putting the puzzle together.
Place the inner wall into the bottom of the stove (notched ends down). Then take the top, and by flexing the tabs, insert it into the bottom of the stove. Be patient! Slowly fit it together, avoiding creasing the cans as you do this.
Step 10: Tape it up!
At this stage in the DYI process,, the stove is only held together by friction. It’s time to use the high-temperature tape, wrapping it around the stove over the seam where the cans fit together. This secures the top and bottom of the stove together. I like to wrap it twice for durability.
Step 11: Give it a try.
I suggest trying this in your backyard. Make tweaks where you see a need for improvement. If it’s not to your liking, think about it a bit and then try again.
When you embrace learning something new and sharing it with others, you start to exhibit the qualities of a leader, producing positive change in your community. People might even see you in a different light (pun intended). And that’s what NCOAE and the DIY process is all about.
Here’s a Solo Stove, popular for backyard use. Looks like the stove you just built, doesn’t it?
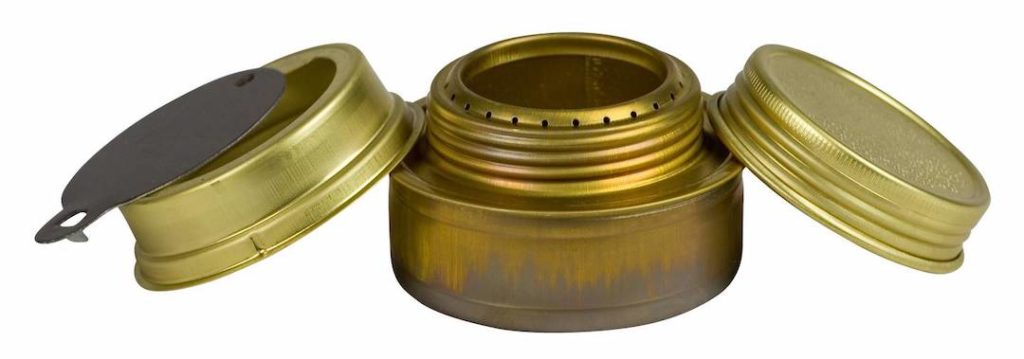
Looking for a time-proven alcohol stove? Try a Trangia.
TALK TO US
Have any further questions about our courses, what you’ll learn, or what else to expect? Contact us, we’re here to help!
Leave a comment