Did you hear the one about Rock and Ice magazine merging with Climbing magazine? It’s not a joke. That news was announced just today (Oct. 9, 2020), and it conveniently coincides with the next post in our series on outdoor industry lingo. With the assistance of The National Center for Outdoor & Adventure Education’s (NCOAE) outdoor lexicon support team (that’s me), most of you were able to make it through the first post in our outdoor industry lingo series — Surfing. And now, just when you thought it was safe to go back to regular English, you get to learn an entirely new language.
For today’s writeup, we’ve got you “on belay” with all the “beta” to get you through the “crux” of the lingo learning curve so you can “on site” any climbing conversation.
Holy crevasse! Why are all those terms in quotation marks? And what do they mean?
Pay attention, Grasshopper. While I can’t (won’t) give you the entire exhaustive list of climbing terms, I am going to go deeper into the nifty nomenclature of climbing. And the first thing you’re going to need to access in order to summit this speech peak, is the climber’s “bible.”
This 60-year-old book is called “Mountaineering: Freedom of the Hills,” and it’s available now in its 9th edition. So, if you want to climb or become a mountaineer, or if you just want to speak intelligently about the topic at climbers gathers or Zooms, get the book. Why? Look around you. Even the most ardent climbers, guides, and outdoor education professionals reference Freedom of the Hills.
So, let’s “tie in” and get you on the “sharp end” by the end of this post. We need to get you talking knowledgably about climbing.
I’m thinking we should start things off with how climbs are rated — the difficulty level. You might hear someone talk about climbing a 5.9 with a 5.12 pitch at the crux. And you don’t have a clue as to what that means. Bottom line? We’re referring to the “Yosemite Decimal System” (YDS).
The Yosemite system is a common and dynamic language. And like ardent surfers talking about big waves, nobody wants to claim they are climbing harder routes than they really are. It’s just too easy to prove that you’re exaggerating. So, is this YDS accurate? If you climb — or attempt to climb — you may come up with the answer yourself.
Quick and Dirty
Class 1: Trail, bike path, clear trail. Might even be uphill. If you fall, you get scratched up.
Class 2: Similar to Class 1. Path is uneven; you may need to use hand hold or route finding. You fall, you may break a bone.
Class 3: Hand needed to grab holds, consider roping up for safety, unmarked trails. You fall, you break and arm or leg. Ouch!
Class 4: Rope required to prevent injury. This steep, steep ladder. You must use your hands. If not roped up? You fall, you may die. Or lose the use of your appendages. Major pain!
Class 5: Rope up! No rope, you fall, you die. This is the terrain you see in documentaries about climbing. None of us are an Alex Honnold! (Alex, if you are reading this — you are Alex. Do what you do.)
Class 5 then elevates from 5.1 to 5.15 for difficulty. Personally, I can climb comfortably up to 5.9 — maybe 5.10. If I walk up to a 5.12, it is difficult for me to tell where the route is. Face a 5.15? That would be like trying to decipher Sanskrit. I can’t even make a first move to get my feet off the ground.
To blur the lines further. You say you climb 5.10 at the local climbing gym? Try 5.10 outdoors. Then get back to us after that attempt. We want to know things went. Being serious here.
How We Talk About Routes
Toprope: Your rope is anchored (secured to the top of the climb). If you take a fall, you may drop a foot or two until the rope catches you.
Trad (traditional): You are finding spots to place gear in order to protect your fall. If you fall it may be a 3- to 15-foot drop — if you are not runout (meaning, lots of rope between you and the last point of protection).
Sport: Bolts are prefixed on the rock you clip in, using a carabiner and connecting your rope. Sport routes tend to be more difficult than toprope routes.
Aid: Climbers pull, stand on gear, and use other devices to ascend ropes and route. Sound scary? It has been every single time I have done it.
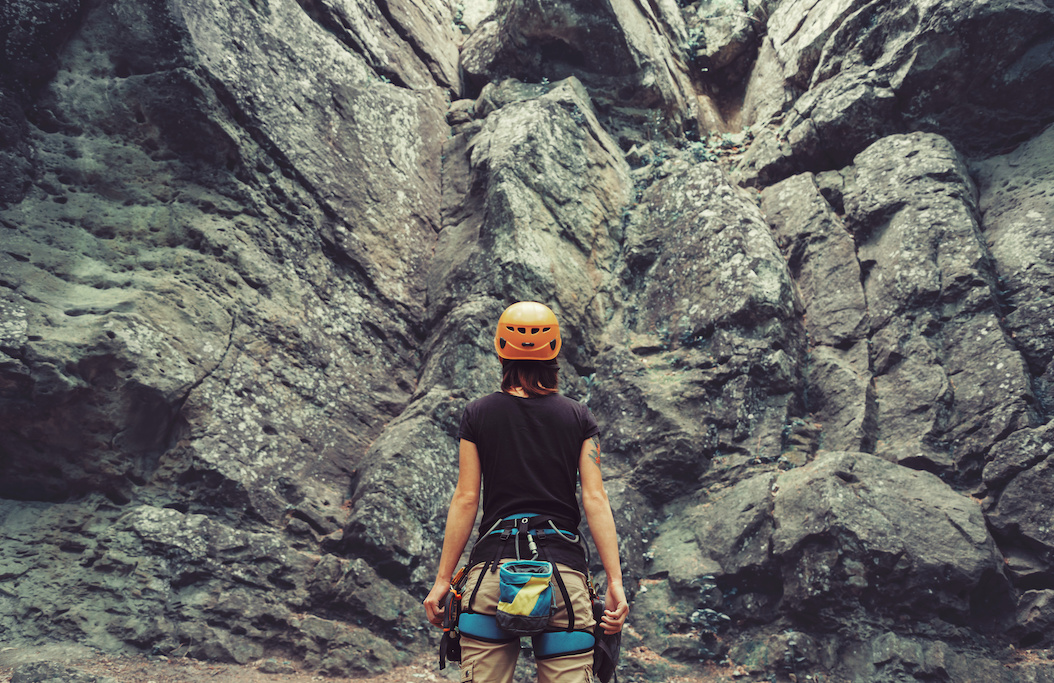
What Do You Need?
Harness: This is your seatbelt. Two leg loops and webbing — strong enough to drag a truck — that connects you to your rope.
Carabiners: Oval- or D-shaped pieces of metal to run rope through, connect you to protection, and a place upon which to hang your gear.
Helmet: Not always meant to keep you safe in a fall situation. More likely to keep you safe from fellow climbers who might drop a piece of gear. Or the tourist above, grabbing a selfie near the cliff’s edge and kicking a small avalanche of rock and debris your way. Their online followers love those videos.
Rope: A group of yarns, plies, fibers or strands that are twisted or braided together into a larger and stronger form. In other words, rope!
Chalk: This decision is up to you and weather conditions. It keeps hands dry, and some climbers use it to mark handholds on climbs to practice sequence of moves. Personally? It makes me sneeze.
Shoes: No, you don’t need shoes two sizes too small. Where in the heck did you hear that old wives’ tale? Be comfortable, climb well.
Belay device: These come in many shapes and sizes. They control the speed the rope gets to the climber and it creates your braking system in order to stop rope when a climber falls.
How We Stay Safe
Anchor: A device or method for securing a climber to the rock to prevent a fall.
Protection or Pro: Equipment placed in the rock to catch a climber’s fall.
Belay: To hold or stop a fall using a belay device or rope technique.
Belay Loop: A loop on the front of your harness that a belay device is clipped to for belaying or rappelling (come down as opposed to going up the wall).
Bolt: Permanent protection drilled into the rock. Do not do these yourself. Bad bolts equal bad climb! There are also regulations to allow or eliminate the use of bolts in areas.
CAM: Spring-loaded protection device that fit into cracks of varying sizes in the rock.
Nut: Non-active protection — no moving parts. Slide them into a crack and pull in the direction that weight may be loaded on them. Then clip them in for protection. In some places people challenge themselves by using only nuts when climbing. Lots of experience and lots of style points for this.
Spicy Language
Beta: Local knowledge. You may need to provide beta to get beta. For instance: “I have traded ice climbing gear for beta…it really paid off!”
Bight: Bending rope in half but not crossing the rope to make a loop.
Big Wall: An especially high cliff that requires multi-pitch climbing and usually takes multiple days to ascend.
Bomber: Protection that can take the load of a falling truck. AKA “bomb proof.” As opposed to, “I wouldn’t hang my hat on that piece of pro!”
Crux: Hardest section of a climb.
Dyno: A huge move — even a jump — to get to the next hold.
Flash: Climbing a route on the first try.
Highball: A high, dangerous boulder problem. Bouldering has a language and rating system all of its own….another time another conversation.
Jug: A large hold. Also referred to as a “bucket.”
Leader: The climber who goes up first, clipping his or her side of the rope through protection. AKA: Being on the “sharp end.” Leading.
Pitch: The distance between anchors where a belay is exchanged, and the next part of a climb starts. Many climbs have several pitches.
Rack: The collection of gear, nuts, carabiners, cams that you will need to successfully complete a climb. The rack you use may change from climb to climb.
Runout: The climbing term for being far above your last piece of protection. This is what will determine the length and scare factor of a fall.
Whipper: Enduring a very large fall, usually while leading.
Now you can take what we have given you here and go headfirst into a climbing conversation you may not ever contemplate leading. Do this, knowing that NCOAE has you on belay. And that we won’t let you take a social whipper at any gathering attended by outdoor industry types.
TALK TO US
Have any further questions about our courses, what you’ll learn, or what else to expect? Contact us, we’re here to help!
Leave a comment