Proper Water Treatment Needs to be a Priority in the Backcountry
November 04, 2021
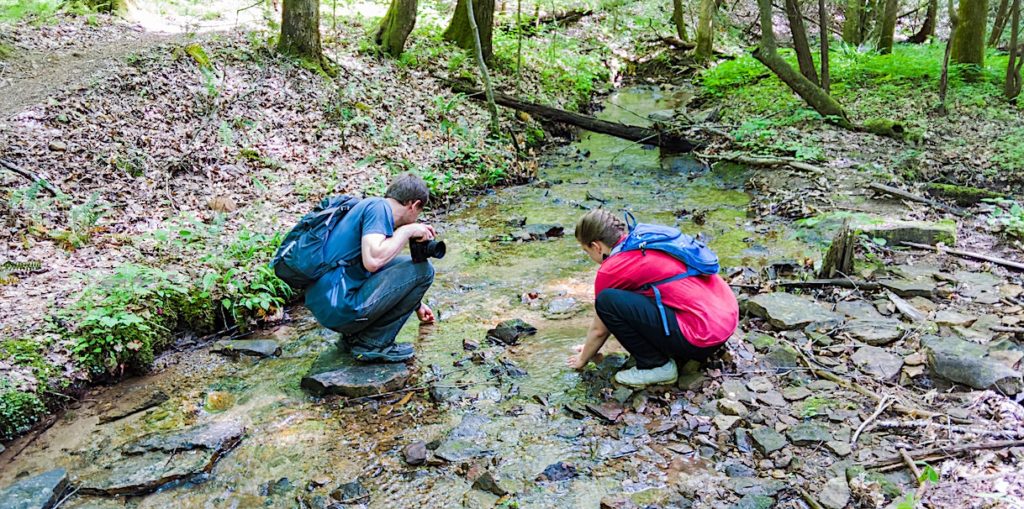
While it’s true that some water sources you encounter in the outdoors are safe, know that drinking from even the most pristine looking stream or river can make you sick. There might be unseen runoff from industry, agriculture, livestock, and wildlife, and these can contribute bacteria, chemicals, and other contaminants to the very water you believe is safe to drink.
Which means you should always treat all outdoor water sources before consuming. If that recommendation is confusing or sounds somewhat limiting, consider the following: To guarantee your continued health while recreating in the outdoors, whenever possible, you should bring your own water from a known source. That includes tap water from home or bottled water from the store. The only other option is to practice water treatment techniques.

Here are some common ways to treat water:
BOILING
This method is one of the simplest and least expensive ways to treat water in the backcountry.
- Simply fill your water pot from your water source, place your pot on your stove, then bring to a full rolling boil.
- Once your water has come to a full rolling boil, allow to continue boiling for another minute to eliminate bacteria, protozoa, and some viruses.
- And if you find yourself at a higher altitude (above 6,500 feet), add another three minutes to that boiling time.
- However, boiling is not the best method when you know your water is contaminated with runoff from agriculture or chemicals.
Warning: Boiling water burns cooking fuel. You might consider saving cooking fuel for cooking and perhaps build a wood fire — assuming your backcountry permit or local ordinances allow for it — to boil water for drinking.
FILTERS
There are many types of water filters on the market for personal use in the backcountry. Commercially made water filters are an excellent choice for personal trips in North America.
Water pumps have an intake hose that feeds water into the filter. Simply place the intake hose in your water source, attach your water bottle to the pump, and pump until your bottle is full.
Another type of water filter is the gravity filter — an excellent choice if you’re base camping or travelling with a large group. Gravity water filters process larger quantities of water using the power of gravity. A large water reservoir, called “the dirty bag,” is hung from a tree with a hose leading to a water filter. The output of the filter flows out another hose to a clean reservoir, called the “clean bag.” A squeeze style, single-stage filter is typically used.
Pro Tip: For reviews of water filtration devices for personal in the backcountry, we recommend the write-ups from Backpacker Magazine, Outdoor Gear Lab, and Popular Mechanics.
Most personal use backcountry water filters use a ceramic, carbon, or hollow fiber filter to remove bacteria, protozoa, and some viruses. However, pumps require maintenance and can take time and energy to use, while gravity filters can be a challenge in areas with low water levels. The filters on some models can also be expensive to replace.
UV LIGHT TREATMENT
Ultraviolet Light Treatment devices (Steri-Pens) neutralize bacteria, protozoa, and viruses with UV rays. To use them, simply switch them on, select your water bottle size, insert your water bottle, and stir for 90 seconds. If your source water is murky, be sure to use a pre-filter. One downside of this method is it can use a lot of battery power, requiring you to bring a battery pack or lots of extra batteries. These devices are great for areas with fairly clear water that isn’t contaminated with chemicals.
The Water Filter Guru and BestCamping.com have reviews of UV water purifiers for use in the backcountry.
CHEMICAL TREATMENT
There are several chemical water treatment options available for use in the backcountry. Two of the most common ones are iodine and chlorine dioxide. You can buy commercially available tablets or liquids of both, and they are sold under several brand names such as Aquarmira and Aquatabs, among others.
Follow the instructions on the product. For liquids, place the recommended number of drops into the bottle, then, shake the bottle to mix. Then lay the bottle on its side until the recommended treatment time is finished.
Chemical treatment options are inexpensive and great if you’re on a budget or traveling with a large group. They also weigh almost nothing and are small enough to keep in your First Aid kit. However, they do leave a slightly funky taste in your mouth, and most methods don’t kill cryptosporidium and some other parasites. Also, if you’re traveling in cold environs, you’ll have to wait longer for the water to finish the treatment process.
Even if chemical treatment is not your choice as a primary treatment method, our team recommends bringing this chemical option as a backup method. And if you’re traveling internationally, you might need to use a filter and a chemical treatment method to safely treat your water.
When deciding the method(s) to use for your next adventure, there are several considerations including:
- What is the availability and the quality of water where I’m traveling?
- How much weight do I want to carry?
- Do I need to bring a back-up method or extra filters?
- How will I transport my water?
There are a number of choices for water treatment available on the market. Whether you’re headed out for a day hike, a weekend of car camping, or a longer trip, pick up several options and give them a try.
TALK TO US
Have any further questions about our courses, what you’ll learn, or what else to expect? Contact us, we’re here to help!
Leave a comment