Most of us have caught at least an episode or two of “Survivor,” the original reality show that has cast members “outsmart, outlast and outwit” each other in order to win a million dollars at the end of 32 days in a wilderness environment.
Inevitably on this popular TV show, two finalists are forced to build a fire, with the winner moving on and the loser going to the jury. And you’d think after 38 seasons, that all contestants would find it advisable to practice building a fire with flint and kindling BEFORE arriving on that season’s desert island or jungle outpost. But they don’t.
What we’re going to do in this blog post, is show you how to plan for a campfire in the wilderness, what to bring, what to source onsite, and how to avoid setting your tents, sleeping bags — or the entire backcountry afire.
Fueling the Flames
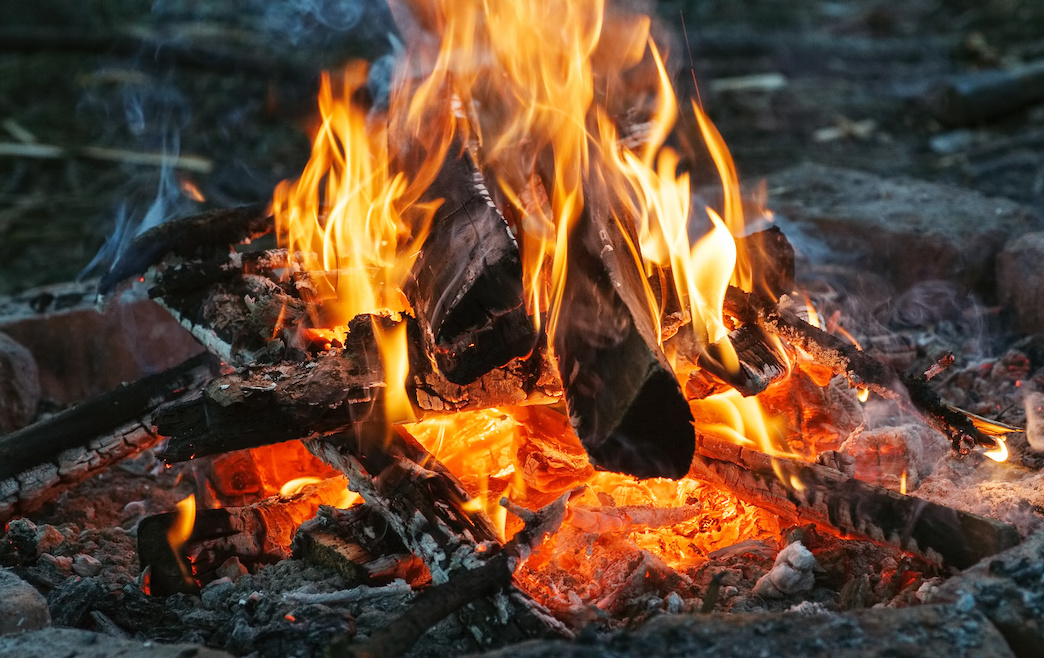
Oh, and if you’ve never learned how to build a fire — or cooked over an open fire — you should. It’s an amazing, freeing experience. Here’s what you’ll need:
- Tinder: Small pinky-sized or tinier sticks, pine needles, grasses, bark, wood shavings
- Kindling: Dried wood, twigs and wood chips roughly as thick as your thumb.
- Fuel: Larger pieces of wood that keep the fire alive and kicking.
Once you’ve arrived at your campsite, set up your tent, then gather the above-mentioned fuels from the area andseparate them into respective piles based on type. Once that’s done, it’s time for ignition.
At this point, you have the choice between going prehistoric or sticking to modern when it comes to getting a spark. We recommend the modern approach. Got matches, lighter flint and steel? These will all work, although we’re big fans of always having matches on hand. The objective here is to be able to get your tinder lighted easily and consistently. Having said that, it’s not uncommon to see a backcountry guide use a lighter.
Choosing a Location for the Fire
Of course, safety should be your first concern, so select a spot that is far enough away from tents, shelters and sleeping areas. You want to keep your gear in good condition by reducing exposure to sparks.
Also, if you’re going to be cooking food on the fire, you’ll want to use the same judgment you would use with your kitchen — be geographically far enough away not to attract unwanted critters. Creating a perimeter for safety just smart.
And, of course, if there’s already a fire ring in the area, use that. If not, seek a location that is clear of flammables, piles of leaves, bushes and trees. Don’t forget to use the principles of Leave No Trace in regard to fire.
Additional Fire-lighting Tips
Now it’s time to “Light My Fire,” as Jim Morrison sang, and that entails building a fire bed that is free of adjacent vegetation. Use rocks or walls of dirt if necessary, then create a small nest of tinder before introducing a spark from your ignition source, whether that be matches, a lighter, or flint.
Once the tinder catches, keep adding more in order to feed the fire, all the while being careful not to smother the flame. Once the tinder is burning nicely, it’s time to add the kindling. It will probably be at this point that you welcome the benefits of organized separate piles of fuel.
As with the tinder, once the kindling has a strong burn going for it, start adding fuel wood — the larger pieces in your third pile. Once things are burning bright, you can further tend to the fire, making the adjustments necessary for heat and cooking.
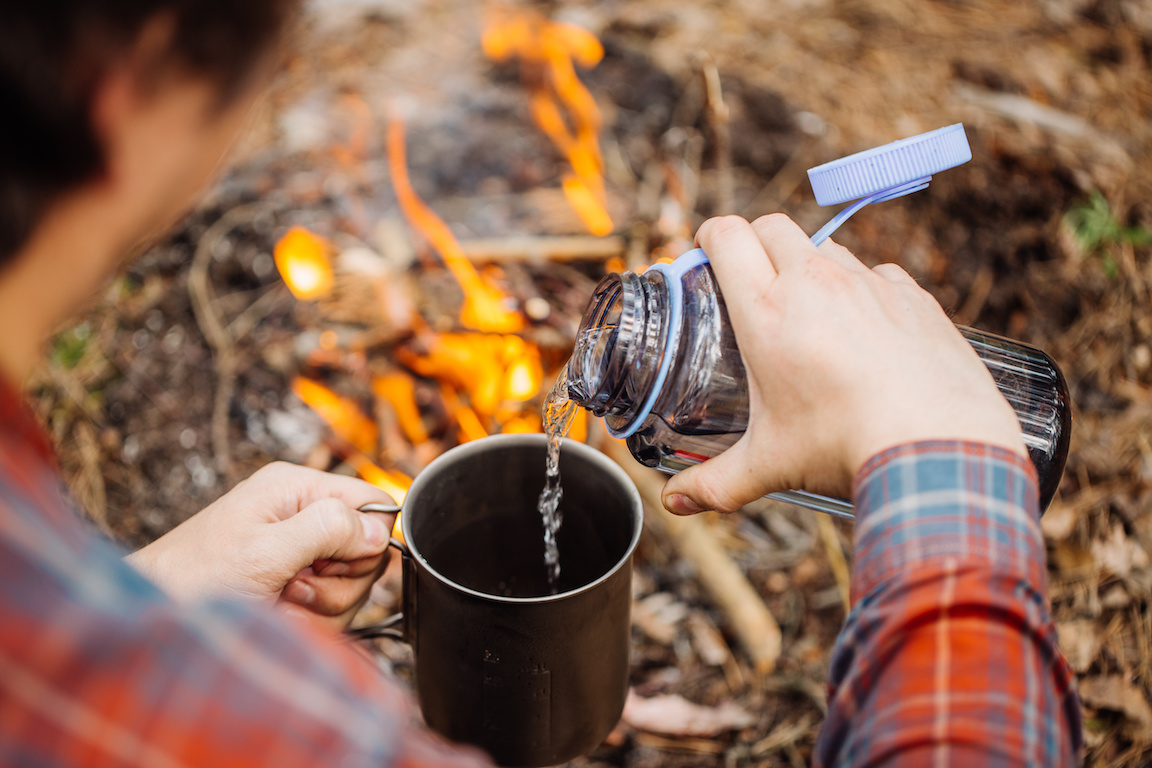
For cooking, we recommend preparing a teepee-style fire. In that way, when the teepee fire burns down, the coals collect nicely in the center of the fire bed.
Creating Your Outdoor ‘Kitchen’
In order to successfully cook on the fire that you created, grab up a couple of large rocks or logs in order to create a pot stand. Since the idea is to do your cooking over hot coals, arrange your impromptu stove so that your cooking pots are over those coals, keeping in mind that you don’t need a huge flame to cook your food.
Pro Tip: If you want the fire to serve as a source for heat later in the evening, you’ll be able to use the hot coals to reignite kindling. Oh, and be prepared to enjoy a Five Star meal! Because everything tastes better when prepared over an open flame outdoors.
Here are some additional tips for cooking in the backcountry:
- Practice fire building and cooking over a fire at home before testing your skills in the backcountry. Invite your friends over to enjoy a meal and practice a skill.
- When in the backcountry, anticipate unfavorable conditions for fire building. We try to collect dry tinder along the trail and put it in our packs in case bad weather makes for wet fuel. Some of our instructors have been known to bring lint from a clothes dryer that they stuff into sections of egg carton topped with cedar shavings. They keep these in a plastic bag and may choose to use it as a fire starter when they fail to get a fire started with materials on the trail.
- When you’re done, carefully extinguish the fire. Sprinkle water on the pit — a little at a time to prevent the ashes and sparks from scattering. Then stir the slurry with a stick and keeping pouring water until you cannot feel heat when you hold your hand above the pit.
Practice makes perfect, and there’s no reason not to build a few campfires before heading out into the backcountry. Fire-building skills will benefit you every time you’re on the trail.
TALK TO US
Have any further questions about our courses, what you’ll learn, or what else to expect? Contact us, we’re here to help!
Leave a comment