Old School Tips for Handling Bleeds on the Trail Get a Needed Update
March 02, 2022
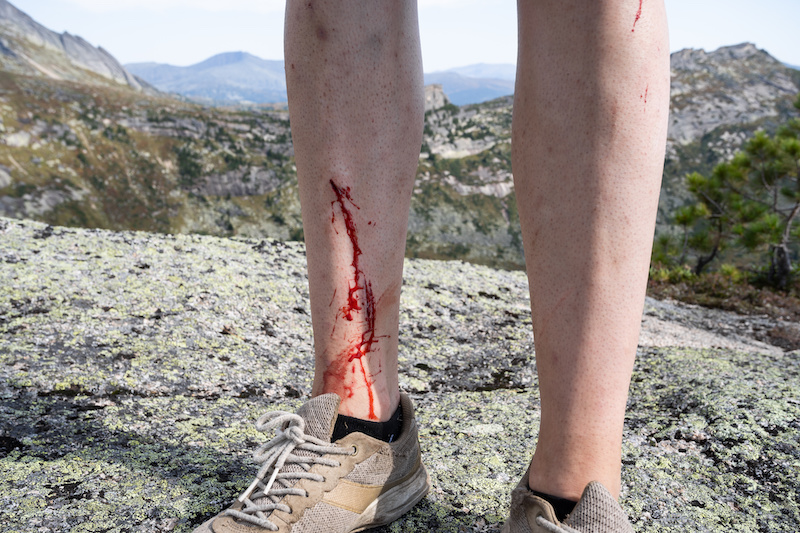
Injuries that involve bleeding are not completely uncommon to those of us who visit or work in the backcountry. In fact, injuries that produce blood are considered inherent risks in wilderness travel, whether that be during a multi-week expedition or an afternoon hike in your local woods.
Knowing how to handle medical emergencies — and that includes knowing how to stop the bleeding when it occurs — is an essential backcountry skill. But here’s the thing… when it comes to bleeding, some “vintage” emergency tactics may have outlived their usefulness. For example, if you’re old enough to remember first aid courses where you were taught to use pressure points or to elevate the injured site, you should know this:
Those methods have been found to be ineffective and are no longer recommended.
So today, we’re going to talk about this commonly encountered medical problem, and how the vast majority of bleeding issues can be effectively and rapidly controlled by almost anyone with a few simple techniques. Fist though, let’s cover the three types of external bleeding.
Types of external bleeding
External bleeding is visible, whereas internal bleeding is not. Internal bleeding can result from a variety of problems ranging from traumatic injuries to illnesses. Stopping internal bleeding requires advanced techniques and often surgery. In other words, if you suspect internal bleeding, call for help.
External bleeding is divided into three types: capillary, venous, and arterial.
- Capillary bleeding is slow and oozing. Think of a simple paper cut or a skinned knee. Even without much intervention, capillary bleeding will stop in a few minutes.
- Venous bleeding is free flowing, darker in color and can be very serious.
- Arterial bleeding is brighter red, with high pressure and a pulsatile flow. It requires higher pressures and longer times to control.
The Four Steps to Control Bleeding
No matter the seriousness of the external bleed, the steps required to control the bleeding are basically the same. They include:
- Direct pressure — This will work on virtually any extremity or scalp wound. If you have sterile gauze or bandages available, use those. If you don’t, a towel, t-shirt or even a wad of paper towels will work. If you have nothing, use your hand. Press firmly, using the pads of your fingers or the heel of your hand as close to the source of the bleeding as you can. Use enough pressure to control the blood flow. This may be painful for the patient, but don’t let go or ease up. Hold the pressure for at least five minutes, preferably 10. If blood is not free flowing, saturating the dressing or dripping, it’s working. If it’s not working, you probably aren’t applying pressure to the right place. Remove the dressing, look more closely at the wound and try again.
- Wound packing — A slight variation on direct pressure is something called wound packing. Particularly for deep punctures with severe bleeding in areas like the upper thigh, it can be very difficult to get enough pressure to the actual site of bleeding. To help get pressure to the right place, take your rolled gauze or other bandaging material and, using two fingers, press it into the wound. Keep packing more and more gauze into the wound until it is full and tightly packed. Then resume your direct pressure. Wound packing should never be done on the torso (back, belly or chest).
- Hemostatic agents — Quick Clot (a non-woven material impregnated with Kaolin, which actives Factor XXI) is the most widely known hemostatic product, but there are many available. These agents are formulated to help blood clot faster — seemingly almost instantaneously. They can be life saving for bleeding from otherwise difficult to control sites such as the armpit or groin areas. In general, hemostatic agents should be applied as a first layer, directly to the site of bleeding and then additional dressings should be layered on top before applying direct pressure for at least five minutes. Follow the product’s guidance for specifics.
- Tourniquets — Tourniquets are designed to tightly wrap around an extremity and cut off all blood flow to the arm or leg. They should only be used for severe life-threatening bleeding on extremities when you are unable to reasonably control the bleeding with direct pressure or you need to free up your hands to do other things. A variety of commercial tourniquets are available, and you should know how the tourniquet works before you need to use it. In an emergency, put it on and tighten it until the bleeding stops. Tourniquets do cause significant pain when applied properly. Once you place a tourniquet, leave it on. Removing or reducing a tourniquet’s pressure is a more advanced skill requiring additional training and knowledge.
Protecting yourself from exposure to potential infections
Like all body fluids, blood can carry pathogens such as Hep-B, HIV and others. Whenever possible, put on exam gloves (nitrile or vinyl) before providing aid. It’s a good idea to carry several pair in your first aid kit or pack.
However, keep this in mind: Simply getting blood on your skin is unlikely to transmit a disease. More of a concern would be if you were to get transmitted blood in your eyes/mouth/nose.
Pro Tip: This is not a time to be shy. Ask the victim if they have any known transmissible diseases, although the answer may not be accurate. If you are exposed while rendering aid, don’t panic. Wash the area with soap and water as soon as possible and follow up with your physician or an urgent care.
The most important thing is to stay calm and give it your best shot. Controlling bleeding is actually very simple, but also critically important and saves lives.
About the Author: Kate Javes is a North Carolina Level 1 Paramedic and EMT Instructor at The National Center for Outdoor & Adventure Education. A former two-sport NCAA Division I athlete at Rutgers University, Kate received her Bachelor of Science degree in math, and a second bachelor’s degree in History from the United States Naval Academy in Annapolis, Md.
TALK TO US
Have any further questions about our courses, what you’ll learn, or what else to expect? Contact us, we’re here to help!
Leave a comment